
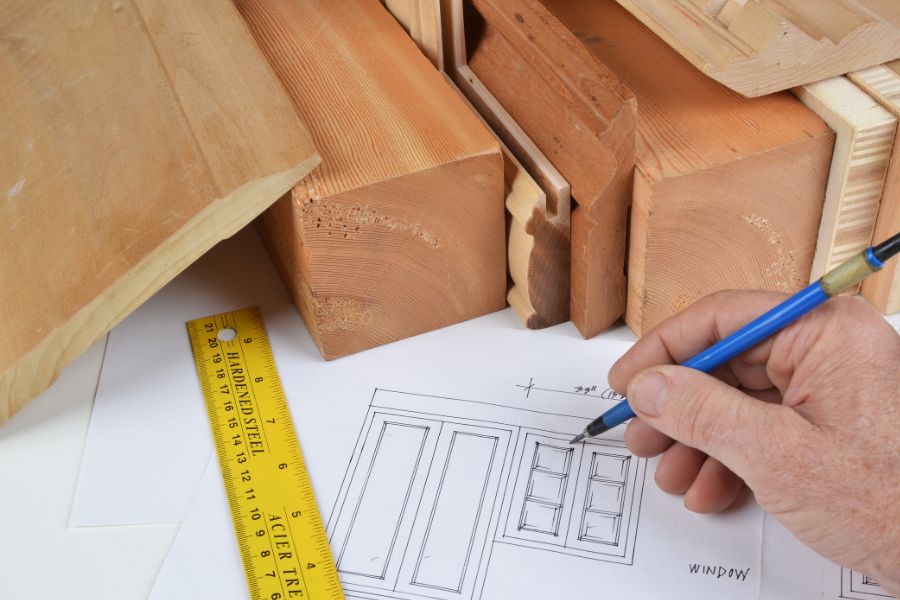
For kitchen cabinet blueprints, consult a professional to create precise and detailed construction plans. These blueprints are essential for accurate and efficient cabinet installation.
Are you planning to renovate your kitchen and install new cabinets? Kitchen cabinet blueprints are detailed construction plans that provide accurate measurements and specifications for cabinet installation. Consulting a professional to create these blueprints is crucial for ensuring precise and efficient construction.
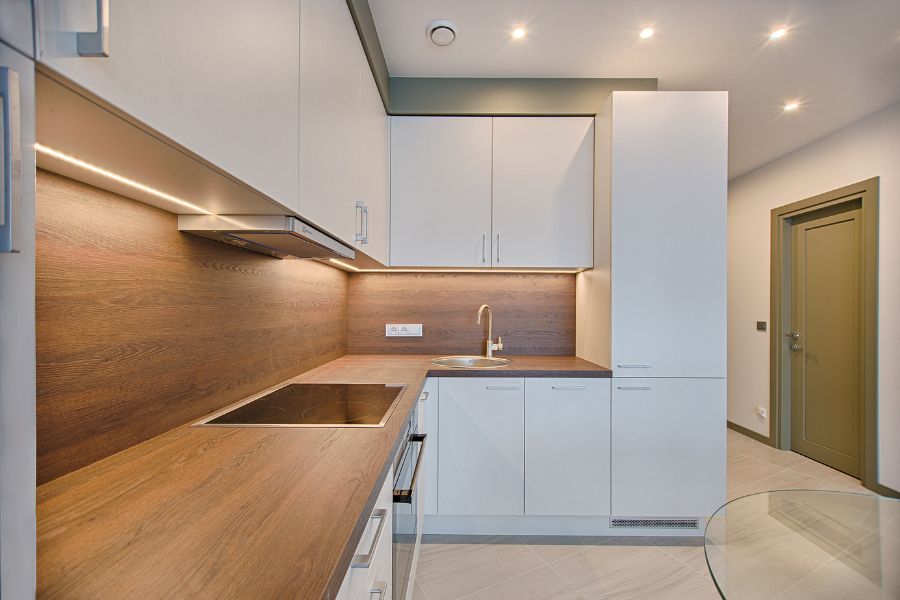
By adhering to the exact measurements and layout outlined in the blueprints, you can achieve a seamless and functional cabinet installation. Whether you are a homeowner or a contractor, having accurate kitchen cabinet blueprints is essential for a successful kitchen renovation project. We will discuss the importance of kitchen cabinet blueprints and how they can streamline the installation process for your new cabinets.

Choosing The Right Blueprint
Determining The Cabinet Style
Before diving into the world of kitchen cabinet blueprints, it’s crucial to determine the style that best suits your kitchen. Whether you prefer classic, modern, or rustic designs, the cabinet style sets the tone for your kitchen’s overall aesthetic. Consider bold colors, sleek lines, or intricate details to ensure your chosen blueprint aligns with your vision.
Considering The Available Space
Take stock of the available space in your kitchen to make an informed decision about your cabinet blueprint. Measure carefully and consider any architectural quirks or obstacles that could impact the layout. By taking these factors into consideration, you can optimize the use of space and create a functional yet visually appealing kitchen.
Evaluating Your Skill Level
Assess your skill level when selecting a cabinet blueprint. Whether you’re a seasoned DIY enthusiast or a novice woodworker, choosing a blueprint that matches your skill level is key. Considerations such as complexity, tools required, and woodworking experience will determine the success of your cabinet-building venture. Selecting a blueprint that aligns with your skill set ensures a smoother and more enjoyable construction process.

Materials And Tools
Kitchen cabinets are an essential component of any kitchen, providing both practical storage and aesthetic appeal. When embarking on a kitchen cabinet project, the materials and tools you choose will play a crucial role in the outcome of your project. From selecting the right wood to choosing the appropriate hardware and essential tools, each decision has a significant impact on the quality and durability of your cabinets.
Selecting The Right Wood
Choosing the right wood for your kitchen cabinets is vital as it determines the overall look and durability. Hardwood like oak, maple, or cherry is commonly used due to its strength and long-lasting properties. On the other hand, softwood such as pine or cedar can be cost-effective but may not be as durable. Consider the color, grain pattern, and sturdiness of the wood when making your selection.
Choosing The Appropriate Hardware
Selecting the appropriate hardware for your kitchen cabinets is essential for functionality and aesthetics. Cabinet knobs and handles come in various materials such as brass, nickel, or stainless steel, each offering a unique look. Hinges are another crucial component, with options including concealed, semi-concealed, or exposed hinges. Ensure that the hardware complements the overall design and style of your cabinets.
Essential Tools For The Job
When working on kitchen cabinet blueprints, it’s essential to have the right tools to ensure precision and efficiency. Some essential tools include a circular saw for cutting the wood, a drill for making holes and assembling the cabinets, and a router for creating decorative edges. Additionally, having measuring tape, clamps, and screwdrivers are crucial for accurate assembly and installation.
Measurement And Planning
Proper measurement and planning are crucial in ensuring the success of any kitchen cabinet project. By carefully considering the available space and taking accurate measurements, you can create a detailed plan that will guide you throughout the installation process. This blog post will walk you through the essential steps of measuring the existing space, creating a detailed plan, and accounting for appliances and plumbing.
Measuring The Existing Space
Before you start designing your kitchen cabinets, it’s important to accurately measure the existing space. This will give you a clear understanding of the dimensions you’re working with, allowing you to design cabinets that perfectly fit your kitchen. To measure the existing space, follow these simple steps:
- Start by measuring the length and width of the kitchen walls. Use a tape measure and record the measurements in inches or centimeters.
- Next, measure the height of the walls from floor to ceiling. This will help you determine the height of the cabinets you can install.
- Don’t forget to measure any obstructions such as windows, doors, or outlets. These measurements will help you determine the placement of your cabinets.
Creating A Detailed Plan
Once you have the measurements of the existing space, it’s time to create a detailed plan for your kitchen cabinets. This plan will act as a blueprint for your project, guiding you through each step of the installation process. Consider the following when creating your plan:
- Decide on the layout and configuration of your cabinets. Will you have base cabinets, wall cabinets, or a combination of both?
- Take into account any specific storage needs you have, such as a designated space for pots and pans, or a built-in spice rack.
- Consider the aesthetic appeal of your kitchen and choose cabinet styles, materials, and finishes that complement the overall design.
Accounting For Appliances And Plumbing
One important aspect often overlooked during kitchen cabinet planning is accounting for appliances and plumbing. Failing to consider these elements can lead to costly modifications down the line. Here are a few things to keep in mind:
- Measure the dimensions of your appliances, including refrigerators, dishwashers, and stoves. This will help you determine where these appliances will fit in your cabinet layout.
- Consider the location of plumbing pipes and ensure that your cabinet design allows for easy access in case of repairs or maintenance.
- Don’t forget to account for electrical outlets and switches. Make sure they are easily accessible when planning the placement of your cabinets.
By meticulously measuring the existing space, creating a detailed plan, and accounting for appliances and plumbing, you can embark on your kitchen cabinet project with confidence. Stay tuned for our next blog post, where we’ll dive into the exciting world of cabinet design and customization!
Building The Cabinets
Once you have your kitchen cabinet blueprints ready, it’s time to start building your cabinets. Building your cabinets from scratch allows you to have control over the design, size, and materials used. In this section, we will guide you through the process of cutting and assembling the cabinet pieces, installing shelves, doors, and drawers, and adding finishing touches and surface treatments.
Cutting And Assembling The Cabinet Pieces
Before you begin cutting and assembling the cabinet pieces, it’s important to ensure that you have all the necessary materials and tools at hand. Take accurate measurements according to your blueprints and mark the dimensions on the cabinet pieces.
Next, using a table saw or circular saw, carefully cut the cabinet pieces according to the marked measurements. Remember to wear safety goggles and gloves while operating the saw. Make sure the cuts are clean and accurate for a precise fit.
Once you have all the individual pieces cut, it’s time to start assembling the cabinets. Begin by attaching the sides of the cabinet to the top and bottom pieces. You can use either screws or nails, depending on your preference.
Ensure that the corners are squared and apply wood glue along the edges for added strength. Use clamps to hold the pieces together securely while the glue dries. Once the glue is dry, remove the clamps.
Continue assembling the cabinet by attaching the back piece to the assembled sides, top, and bottom. Make sure the back piece is flush with the edges of the cabinet. Again, use screws or nails along with wood glue for a strong hold.
Finally, attach the cabinet face frame to the front of the cabinet. This frame will provide support and also enhance the aesthetic appeal of your cabinets. Use clamps and check for levelness before securing the face frame with screws or nails.
Installing Shelves, Doors, And Drawers
After successfully assembling the cabinet, the next step is to install shelves, doors, and drawers. Start by measuring the desired height and width for your shelves and mark the positions on the inside of your cabinet.
- Cut the shelves according to the measurements using a circular saw or a table saw.
- Install shelf brackets or adjustable shelf standards inside the cabinet to provide support for the shelves.
- Place the shelves onto the brackets or standards and ensure they are level.
Next, it’s time to install the cabinet doors. Measure the dimensions for the doors and mark them on your chosen door material, whether it’s wood or a different material of your choice.
- Cut the doors to the appropriate size using a saw or a router.
- Attach hinges to the doors and position them onto the cabinet.
- Ensure that the doors are level and aligned properly before securing them with screws.
For the drawers, measure the width, height, and depth that will fit inside your cabinet. Cut the drawer pieces to size, assemble them with wood glue and screws, and install drawer slides according to the manufacturer’s instructions.
Finishing Touches And Surface Treatments
Now that your cabinets are assembled and the shelves, doors, and drawers are installed, it’s time to add the finishing touches. Sand the cabinets using sandpaper with a fine grit to smoothen any rough edges and surfaces.
Apply a primer coat to seal the wood and prepare it for the final paint or stain. Once the primer is dry, apply the paint or stain of your choice, following the manufacturer’s instructions.
Consider adding decorative molding or trim to enhance the appearance of your cabinets. Attach the molding using wood glue and secure it with nails. Finally, install hardware such as knobs or handles for a complete look.
Congratulations! You have successfully built and finished your kitchen cabinets. Now they are ready to be installed in your kitchen, adding both functionality and style to your space.
Take pride in your craftsmanship and enjoy the satisfaction of having cabinets tailored specifically to your needs and preferences.
Installation And Final Tips
Once you have your kitchen cabinet blueprints ready, it’s time to turn those plans into reality. This section will guide you through the installation process and provide valuable tips to ensure a secure and long-lasting cabinet system. Fitting the cabinets into place, properly securing them, and ensuring proper maintenance and care are all crucial steps that will guarantee a functional and beautiful kitchen space. Let’s dive right into it!
Fitting The Cabinets Into Place
Fitting the cabinets into place is the first step towards a successful installation. Before you start, make sure to measure the available space accurately. This will help you determine how the cabinets should be arranged and if any adjustments are necessary.
If you have multiple cabinets, create a layout plan to ensure optimal functionality and aesthetic appeal. Consider factors such as the distance between cabinets, countertop space, and appliance placement. Proper planning will prevent any surprises once you start fitting everything together.
Properly Securing The Cabinets
Securing the cabinets is essential for their stability and safety. Begin by attaching a ledger board to the wall at the desired height, using a level to ensure it is perfectly straight. Next, align the base cabinets along the line and secure them to the wall studs using screws. This will provide a solid foundation for the overhead cabinets.
For overhead cabinets, use cabinet screws to join them together securely. Take extra care to align the doors and ensure they open and close smoothly. Remember, stability is key, so don’t hesitate to add additional screws or brackets to reinforce the cabinets.
Maintenance And Care For Long-lasting Results
Proper maintenance and care are crucial to keep your kitchen cabinets looking their best for years to come. Here are some tips to ensure long-lasting results:
- Regularly clean the cabinets using a mild cleaner or a mixture of warm water and gentle soap. Avoid using abrasive materials.
- Wipe spills or stains immediately to prevent damage to the wood or finish.
- Avoid placing hot items directly on the cabinets to prevent heat damage.
- Inspect and tighten any loose screws or hinges periodically to maintain stability.
- Keep the cabinets dry and well-ventilated to prevent moisture-related issues.
By following these maintenance tips, you can ensure the longevity and beauty of your kitchen cabinets.
Frequently Asked Questions For Kitchen Cabinet Blueprints
How Do I Measure My Kitchen Space For Cabinet Blueprints?
To measure your kitchen space for cabinet blueprints, start by measuring the length and width of the walls. Then, measure the height from the floor to the ceiling. Finally, measure the locations of any windows, doors, or other fixtures in the kitchen.
These measurements will help you create accurate cabinet blueprints.
What Material Is Best For Kitchen Cabinet Construction?
When it comes to kitchen cabinet construction, plywood is often considered the best material. It is durable, resistant to warping, and less prone to moisture damage compared to other materials like particleboard. Plywood also provides a smooth surface for painting or staining, allowing for a more attractive finish.
What Are The Standard Dimensions For Kitchen Cabinets?
The standard dimensions for kitchen cabinets are typically as follows: base cabinets are 24 inches deep and 36 inches tall, wall cabinets are 12 inches deep and 30 inches tall, and pantry cabinets are 24 inches deep and 84 inches tall.
These dimensions can vary depending on the specific needs and space constraints in your kitchen.
How Can I Customize Kitchen Cabinet Blueprints For My Specific Needs?
To customize kitchen cabinet blueprints for your specific needs, consider factors like the size of your kitchen, storage requirements, and personal preferences. You can adjust the dimensions of the cabinets, add special features like pull-out shelves or a spice rack, or choose different hardware and finishes to create a personalized and functional cabinet design.
Conclusion
The kitchen cabinet blueprints discussed in this blog post provide a valuable resource for anyone looking to design and build their own kitchen cabinets. By following these detailed blueprints, you can ensure that your cabinets are not only visually appealing but also functional and durable.
With the right tools and materials, creating a custom kitchen cabinet design has never been easier. Get started today and enjoy a beautifully organized kitchen space that perfectly suits your needs.